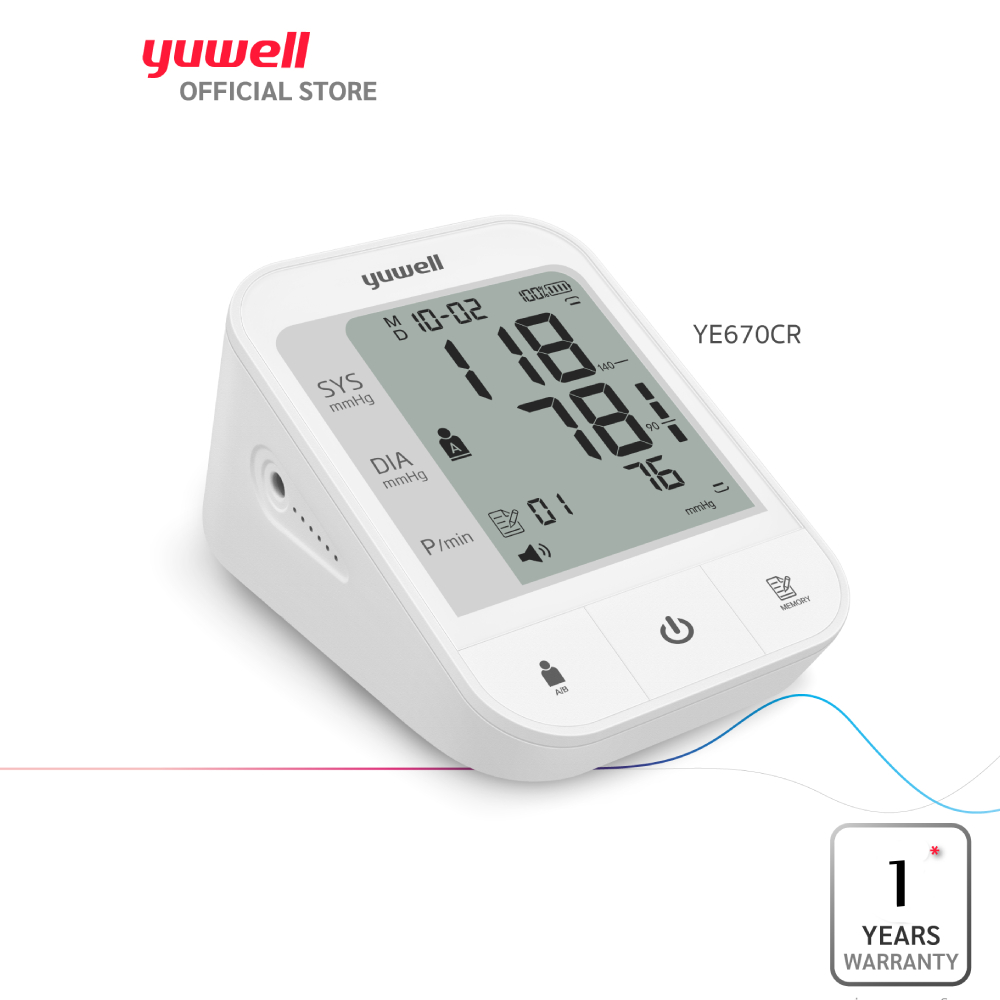
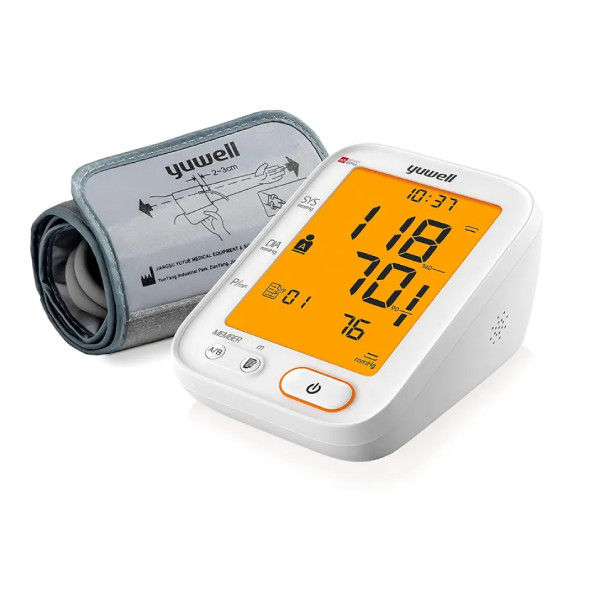
The Yuwell YE660D Digital Blood Pressure Monitor provides medical-grade accuracy and effortless operation for tracking your health right at home. Featuring an advanced Fully Automatic Upper Arm System, it delivers highly precise readings of your systolic pressure, diastolic pressure, and pulse rate. It stands out with a smart voice broadcast function that audibly speaks your results. This makes it an incredibly user-friendly choice for elderly family members or individuals with vision difficulties.
Equipped with Intelligent Pressurization Technology, it prevents uncomfortable over-inflation by adjusting the air pressure according to your unique arm type. Its compact, wireless-friendly design allows you to track your cardiovascular health seamlessly, whether you are managing daily hypertension or keeping a routine medical log.
Features:
- Audible Voice Broadcast: Speaks instructions and reads out measurements aloud to assist seniors.
- One-Touch Operation: Start and complete the entire measurement process automatically with a single click.
- Large Backlit LCD Screen: Displays crisp, extra-large numerical values that are easy to view in low-light environments.
- 90-Group Memory Storage: Automatically stores up to 90 historical readings to help you track trends over time.
- Smart Error Detection: Built-in sensors alert you immediately to body movement errors or improper cuff wrapping to avoid false readings.
- Dual Power Compatibility: Runs conveniently on 4 AA batteries or via a standard Type-A to DC-plug cable connection.
Guide
Step 1: Get Ready and Relax:
Before pressing any buttons, the customer should prepare their body:
- Rest: Sit quietly for 5 minutes before taking the test.
- Avoid: Do not drink tea, coffee, smoke, or exercise for 30 minutes before the test.
- Posture: Sit up straight in a chair with both feet flat on the floor. Do not cross your legs.
Step 2: Put on the Arm Cuff:
- Which Arm? Wrap the cuff around the left upper arm (unless a doctor says otherwise).
- Bare Skin: Put the cuff directly on bare skin, not over thick clothing.
- Placement: The bottom of the cuff should be about 1 to 2 cm above the elbow joint.
- Tightness: Wrap it snugly. You should be able to slide one finger easily under the cuff.
- Tube Position: The rubber tube should run down the center of the inner arm, pointing straight toward the middle finger.
Step 3: Position the Arm:
- Rest the left arm on a flat table.
- Make sure the arm cuff sits at the exact same level as the heart.
- Keep the palm of the hand facing upward.
Step 4: Start the Measurement:
- Press the big "Start/Stop" button once.
- Stay Still: The machine will automatically pump air into the cuff and start speaking instructions.
- Silence: The customer must remain completely quiet and relaxed. Do not talk, move, or shake the arm while the machine is measuring.
Step 5: Read and Hear the Results:
- Once finished, the cuff will deflate automatically.
- The large screen will show the numbers, and the built-in voice will speak the blood pressure and pulse readings aloud in clear English.
- The machine automatically saves the numbers into its memory log.
Pro Tips Customers:
- Take 3 Readings: For the best accuracy, take 3 tests (waiting 2 minutes between each one) and look at the average score.
- Same Time Everyday: Check blood pressure at the same times every day (like once in the morning and once at night) to track health properly.
- Error Alerts: If the screen shows an "Err" message, it means the customer moved or the cuff was too loose. Just turn it off, adjust, and try ag
 Sanford 30,000mAh Rechargeable LED Flashlight